If you’re using a UniFi Security Gateway sooner or later you’re going to run into an issue with DNS entries registered during the DHCP process. If you have a busy household, with lots of visitors, or are an inveterate technology tinkerer, you’ll be amazed at how many stale entries can build up. Occasionally, you may find that there’s an entry that doesn’t point to the current (or desired) IP address for the device, which will prevent you from using the often more convenient hostname.
Being a Windows user primarily, I’ll be using a couple of OS-specific tools to make this task just a little easier. If you won’t be using Windows, you’ll need to extrapolate what I’m doing to your preferred environment.
The first thing you’ll need to know is the SSH password for your USG. This can be found in the UniFi Controller under Settings – Site – Device Authentication, and if you haven’t done so you’ll need to able SSH access to your USG. Reveal the password and copy it, as we’ll be pasting it into WinSCP (this is a must-have tool for any Windows user, as it allows for Explorer-like access to Linux file systems):

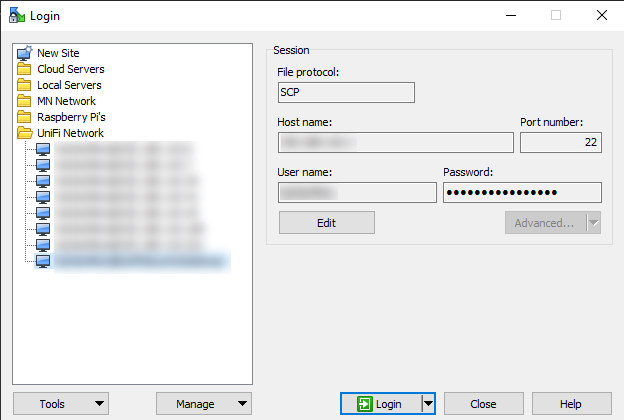
Open WinSCP and add a new site using the SCP Protocol, with the Username and Password shown from the UniFi Controller. The “Host name” field can either be the IP address of the USG, or you should be able to use its default hostname “UniFiSecurityGateway”. Also, you’ll need elevated privileges to edit system files, so click on “Advanced” then “SCP/Shell”, and change your shell to “sudo su -” using the dropdown. I’d suggest saving this configuration for next time in the WinSCP password vault.

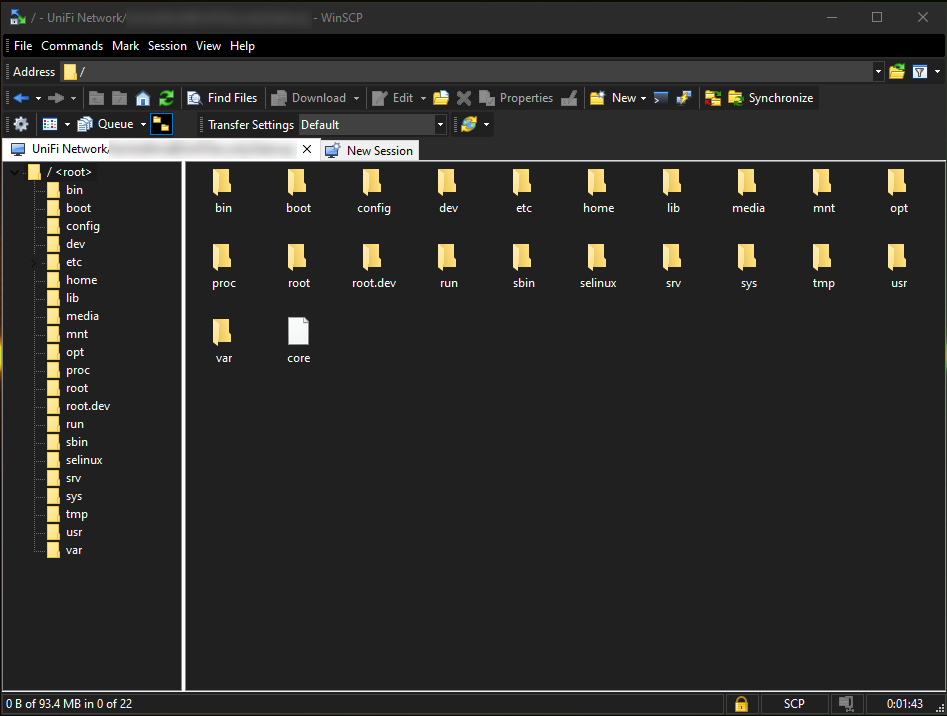
Click “Login”, and you should be presented with a WinSCP display like this, showing the file system of the USG:

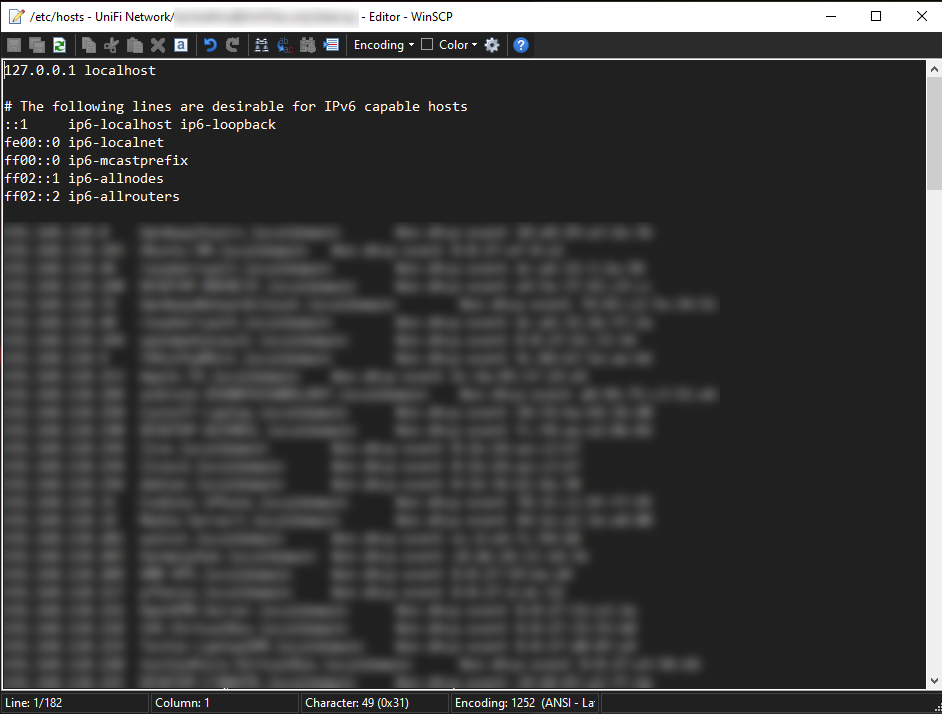
Navigate to /etc, and look for the “hosts” file. Double-click on it, and we’ll do some editing:

As you can see, my hosts file contains 182 lines. Since there are only about 10 lines that aren’t DNS entries, and I have about 60 devices on my home network — there are quite a few stale entries. Go ahead and and delete any lines that you’re sure can be removed, and then click the “Save” (the usual diskette looking icon).
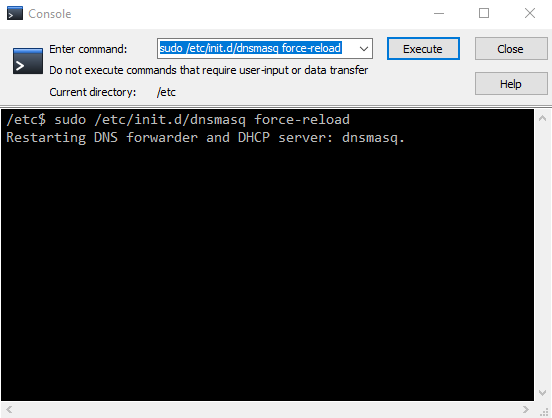
Finally, to avoid rebooting a busy gateway device, we’ll restart dnsmasq with force-reload to force it to re-read the hosts file. This can be done right from the WinSCP Terminal, by using the “Command” dropdown and selecting “Open in Terminal”:
sudo /etc/init.d/dnsmasq force-reload
And that’s it… Unwanted local DNS entries vanquished!
