OK — we get it, desktop versions of Linux need to be more secure out of the box. But some of us want to imbue these GUI-based products with server-style functionality for home network use. So, if you understand the risks, and want to enable SSH access for the root user anyway — read on!
First, you’ll need to install the SSH server package, and given my (or probably our, if you’re reading this guide) preference for doing things from the GUI, we’ll use the Synaptic Package Manager. From the Mint Launcher, we’ll select “Administration – Synaptic Package Manager”, and type in our password. From the Synaptic window:
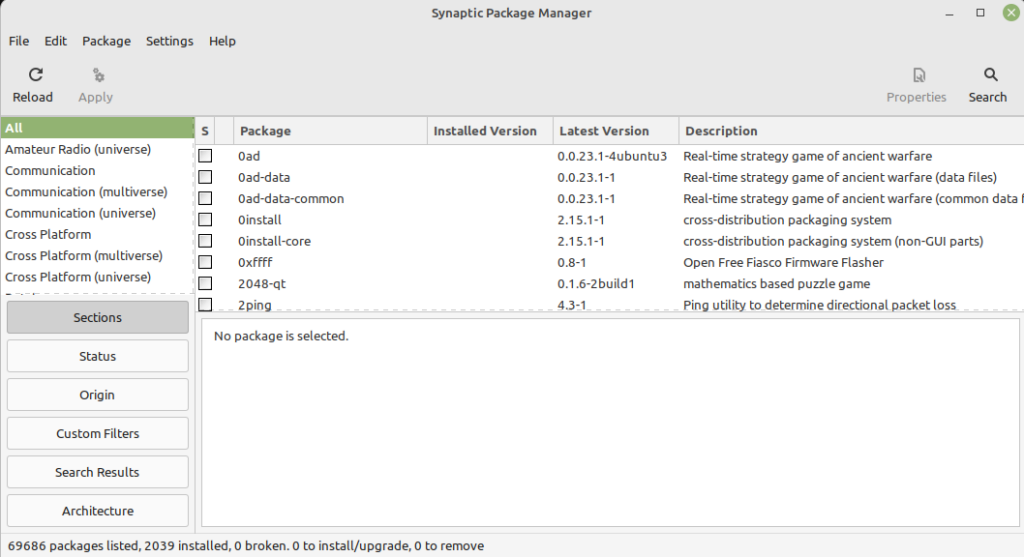
Select “Search” in the upper-right corner and type in “openssh-server”:
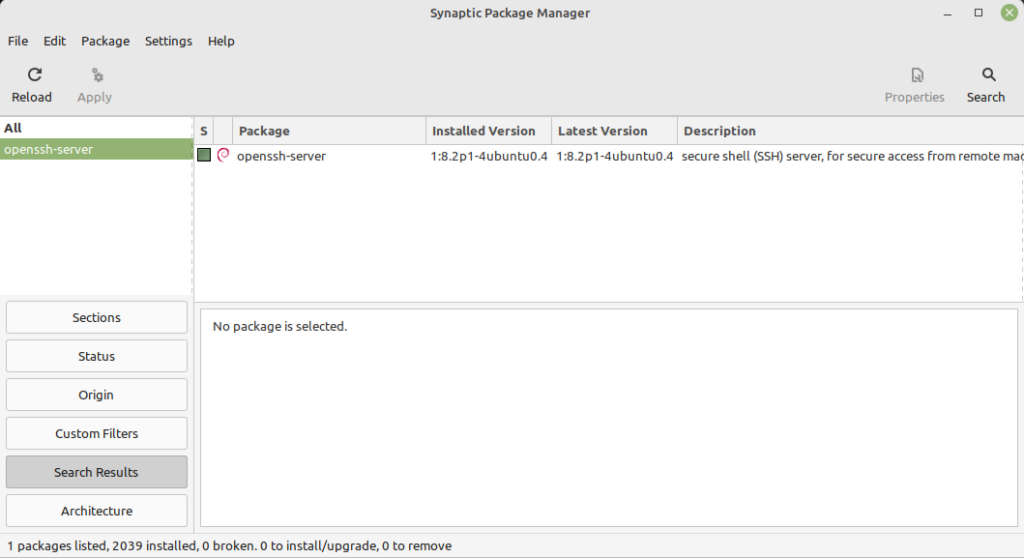
You can see on my system it’s already installed, based on the tick-box being green. On your system it won’t be, so right-click on the package name and select “Mark for Installation” and then click “Apply” in the upper-left corner. Several dependencies will be installed at the same time.
Once that’s done, you’ll be able to login using the same username you’re logged in with currently. However, since we want to be able login as root, a couple of additional steps are required. The first is establish a password for root. This is done from the Terminal using:
sudo passwd root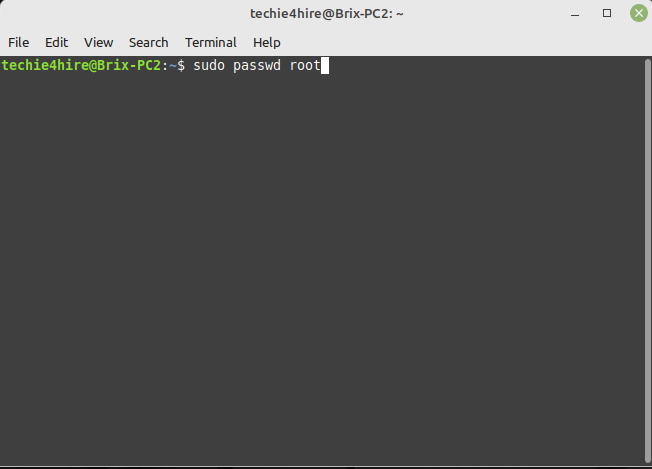
You’ll be prompted to enter the password for the account your logged in under, and then the password you’d like to use for the root account. Next we need to change a SSH rule that’s currently prohibiting the use of root. We’ll need to edit /etc/ssh/sshd_config with sudo privileges. This can be done by clicking on the “Files” icon down on the panel, and then clicking on “File System”. Right-click on the “etc” folder, and select “Open as Root” from pop-open menu. This menu option only shows-up when you’re drilling down from “/” directory level — so do it now:
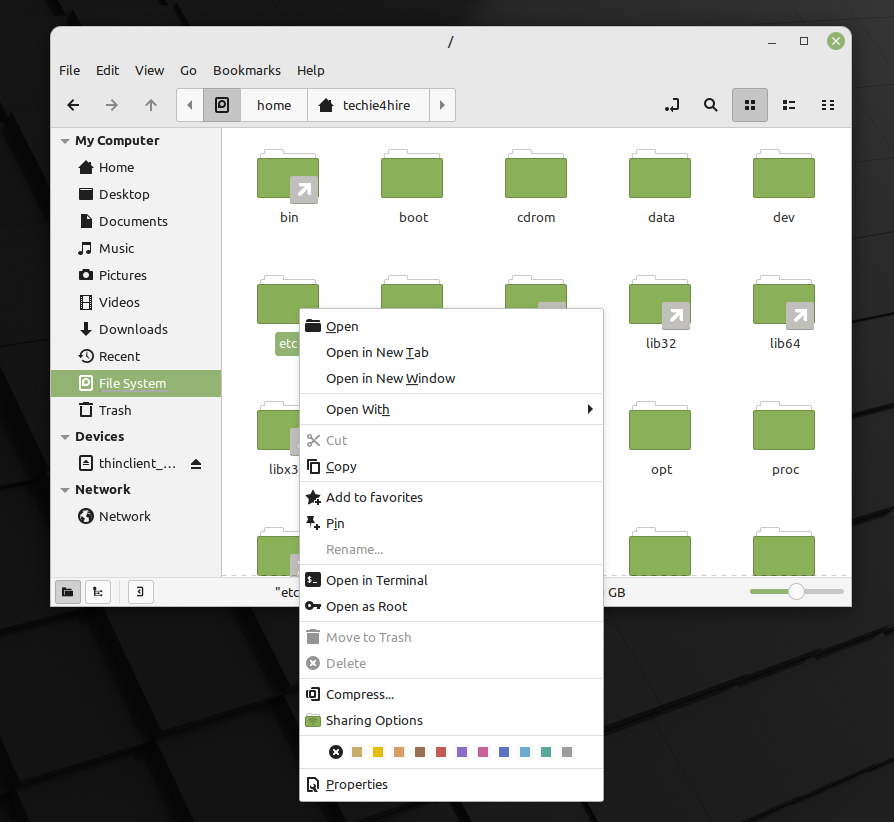
Put in your password, and you should see a red “Elevated Privileges” banner:
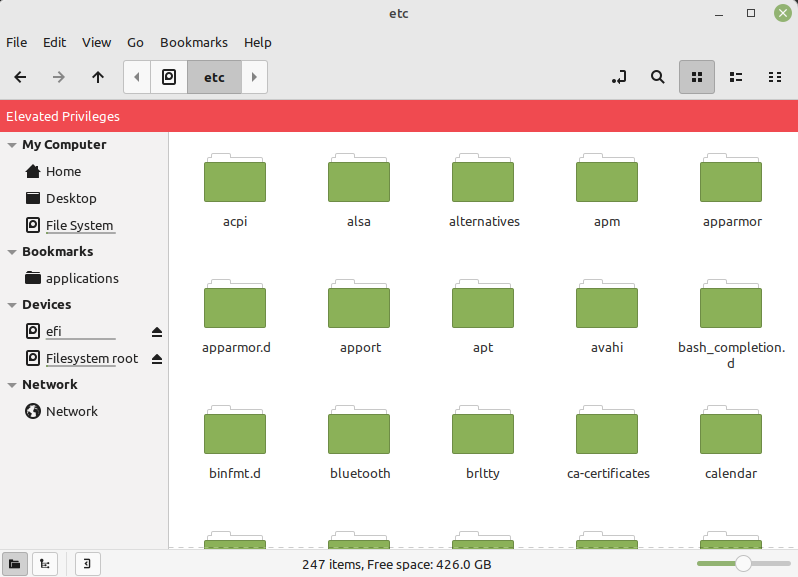
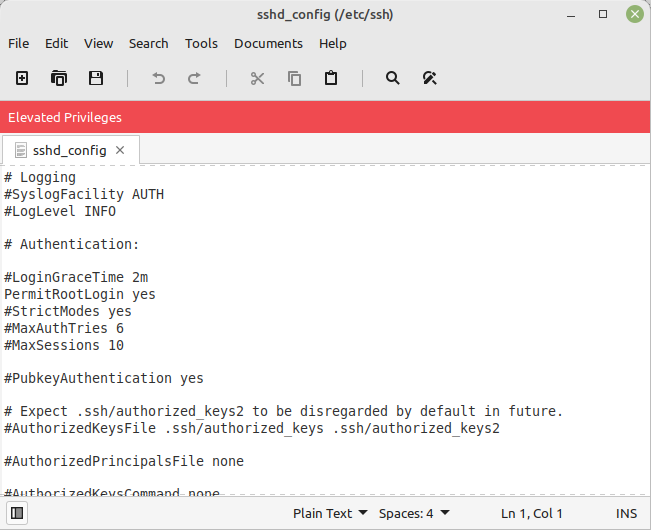
Scroll down the ssh folder and double-click on it. And then, we’re looking for the sshd_config file, which we’ll also double-click on to do some editing. We’re looking for the section with PermitRootLogin, which is currently commented out with a “#”. Remove the leading “#”, and change the value after “PermitRootLogin” to yes. When you’re done it should look like this:
Save and close the updated file, and the Files application. We now have SSH and the root user enabled, which is handy for many server-adjacent activities. And, if you’re like me and love the WinSCP app in Windows, you can now use it without constantly running into issues with permissions. Keep in mind you’ve just granted yourself total power over your Linux Mint 20 installation, so use it wisely!
My next post is going to cover enabling RDP access to your Mint system, and addressing a number issues once again related to privileges. There are a number of system related activities that don’t work when logged in via RDP — which if you’re using numerous headless computers like I am, just doesn’t cut it. But — as usual, there are workarounds that don’t require you to constantly dive to the command line.
Now would be a good time to reboot, and do a little testing…
Until next time!
